Wechat development series 6 – Retrieve Wechat User info via oAuth2 and display it in UI5 application
- Wechat development series 1 – setup your development environment
- Wechat development series 2 – development Q&A service using nodejs
- Wechat development series 3 – Trigger C4C Account creation in Wechat app
- Wechat development series 4 – Send C4C Data change notification to Wechat app
- Wechat development series 5 – embedded your UI5 application to Wechat app
- Wechat development series 6 – Retrieve Wechat User info via oAuth2 and display it in UI5 application
- Wechat development series 7 – use Redis to store Wechat conversation history
Content of this blog
The complete source code used in this series could be found from my github repository.
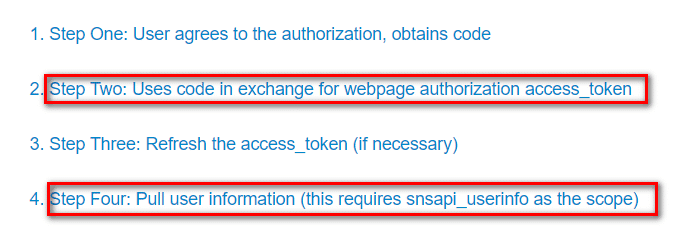
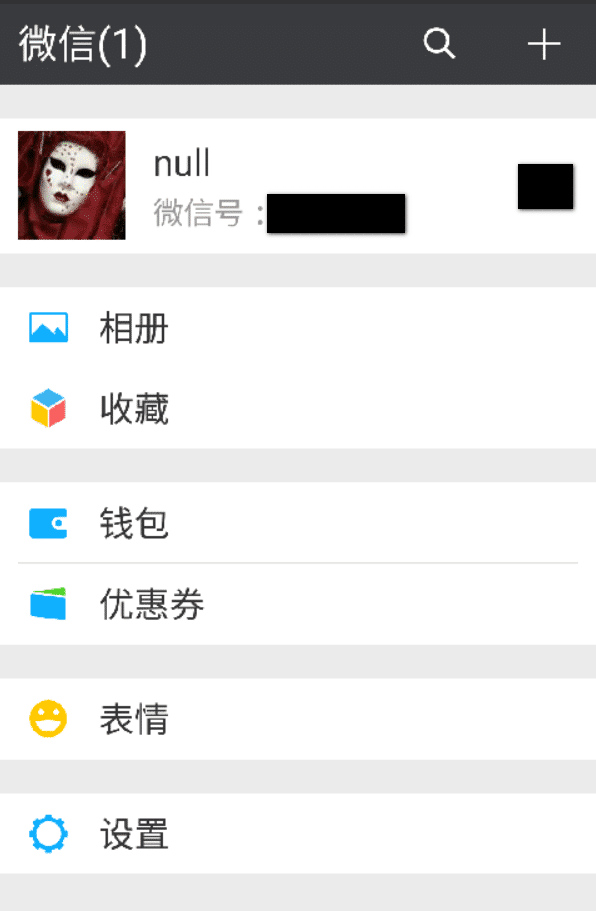
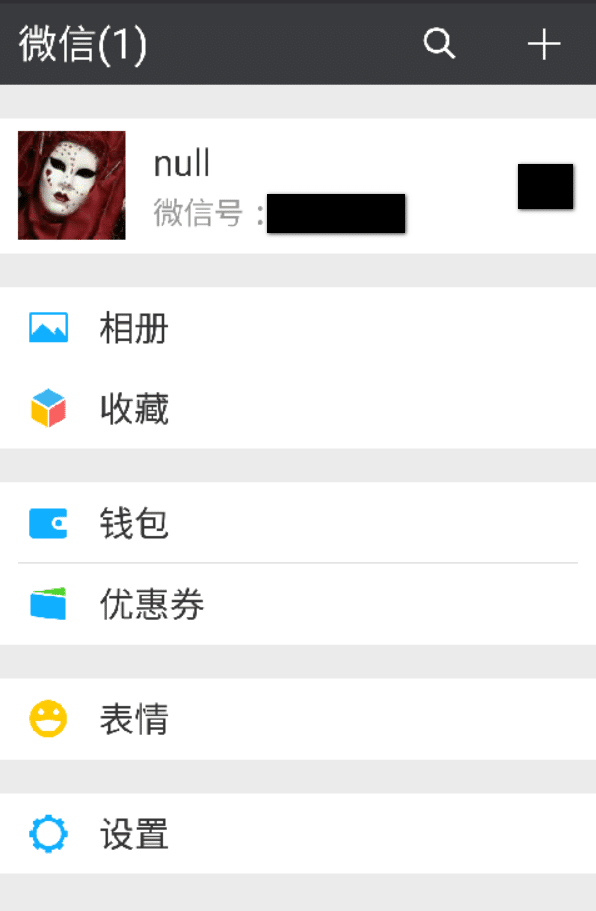
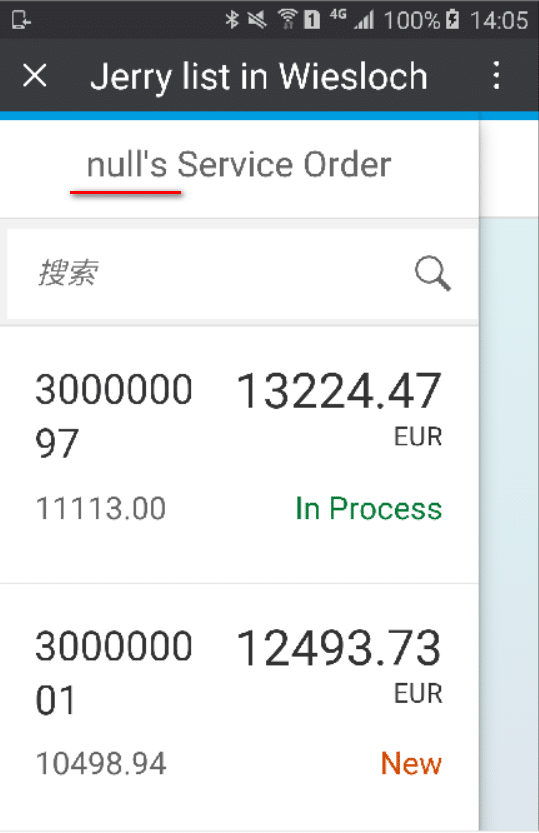
In previous blog Wechat development series 5 – embedded your UI5 application to Wechat app we have successfully embedded one UI5 application within app. Now we go one step further: suppose in our UI5 application we need to retrieve some basic information of current user who has subscribed our Wechat account, for example the nick name of Wechat user, we should follow some special process defined by Wechat, as those user information is sensitive and should never be returned by Wechat API unless Wechat users have explicitly approved that it could be retrieved, that is, the operation to access Wechat user information must explicitly be authorized.
Implemented feature

Implementation detail
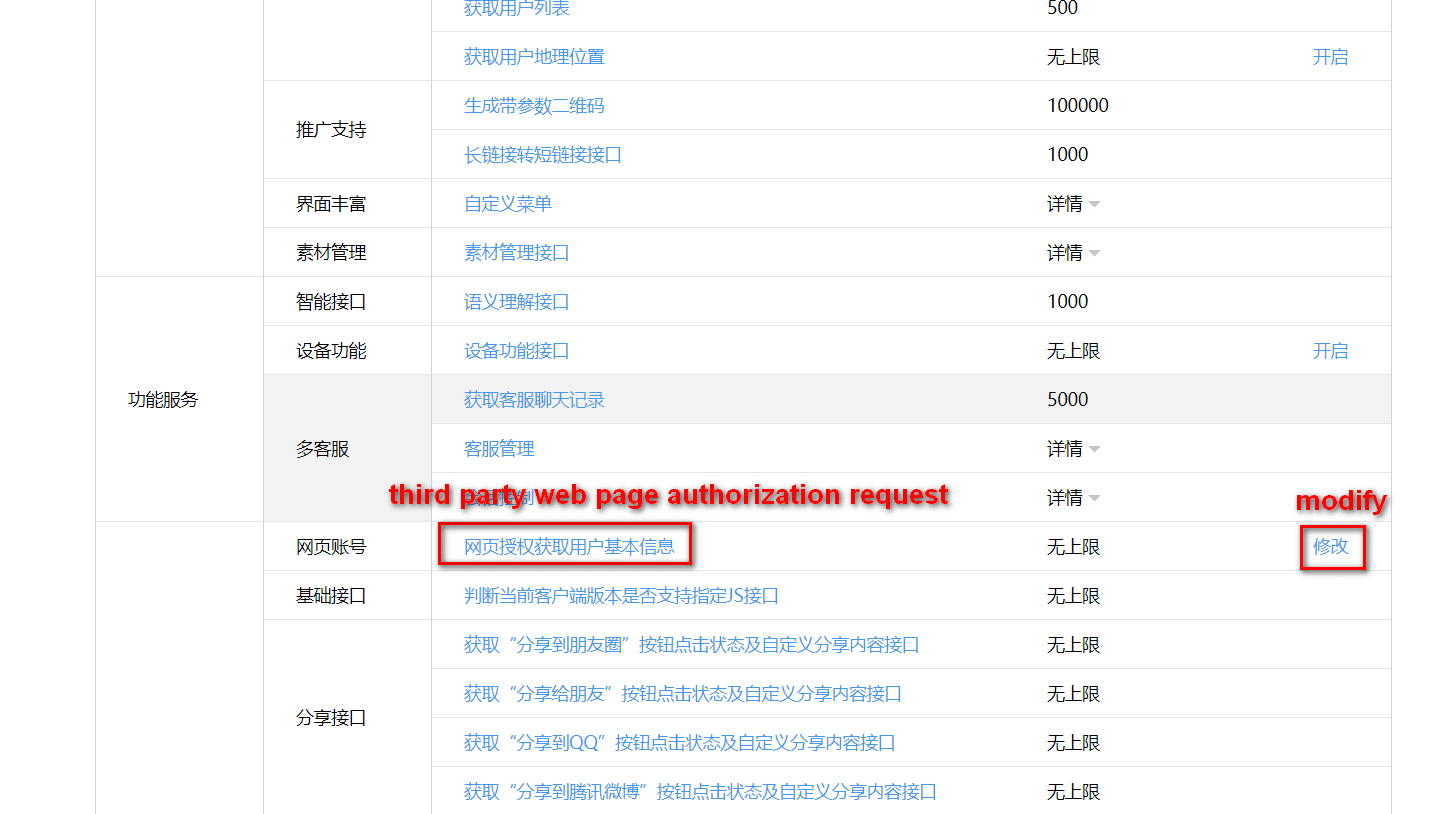

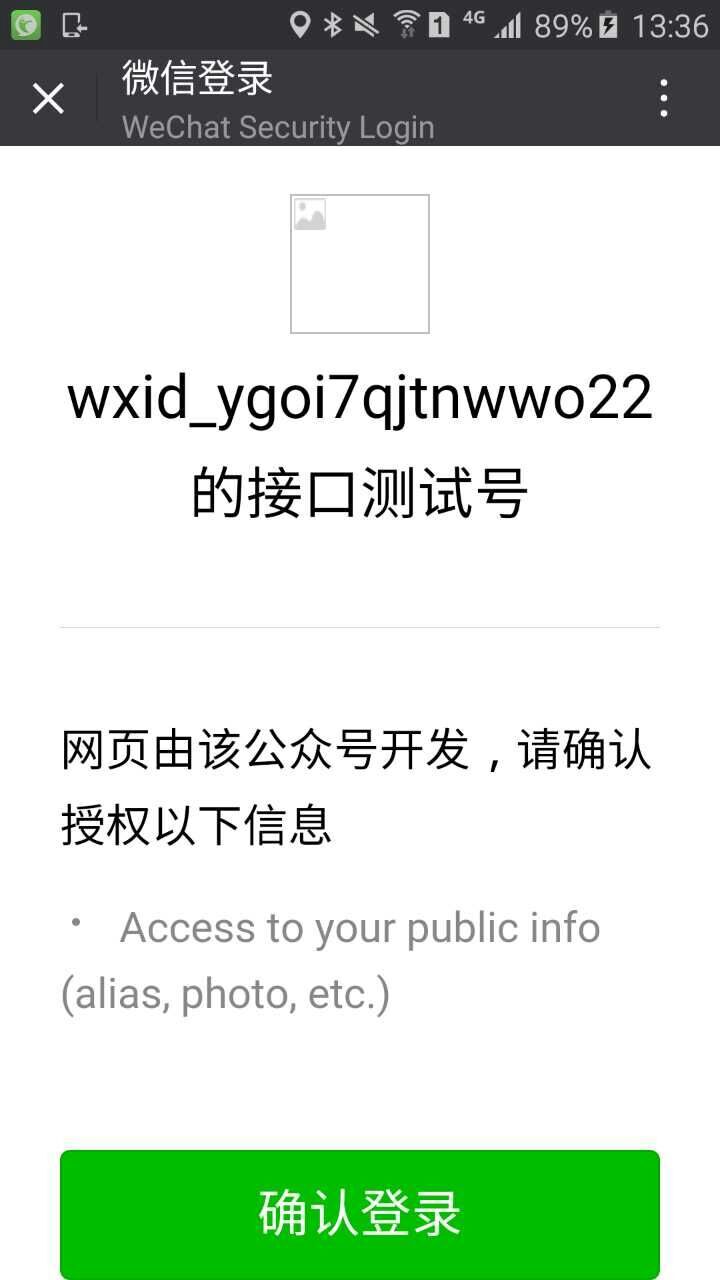
Implementation for task one
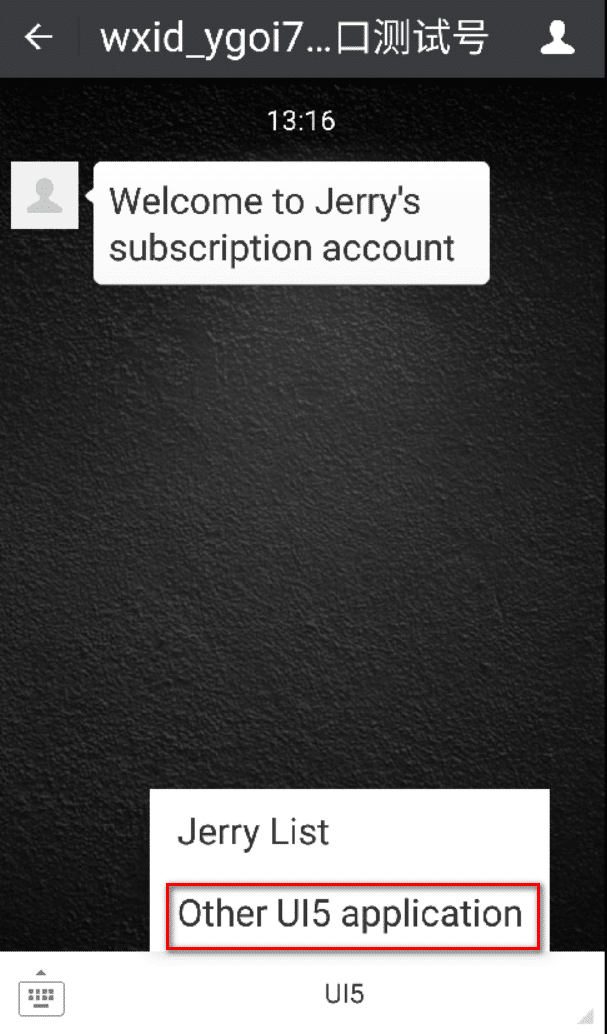

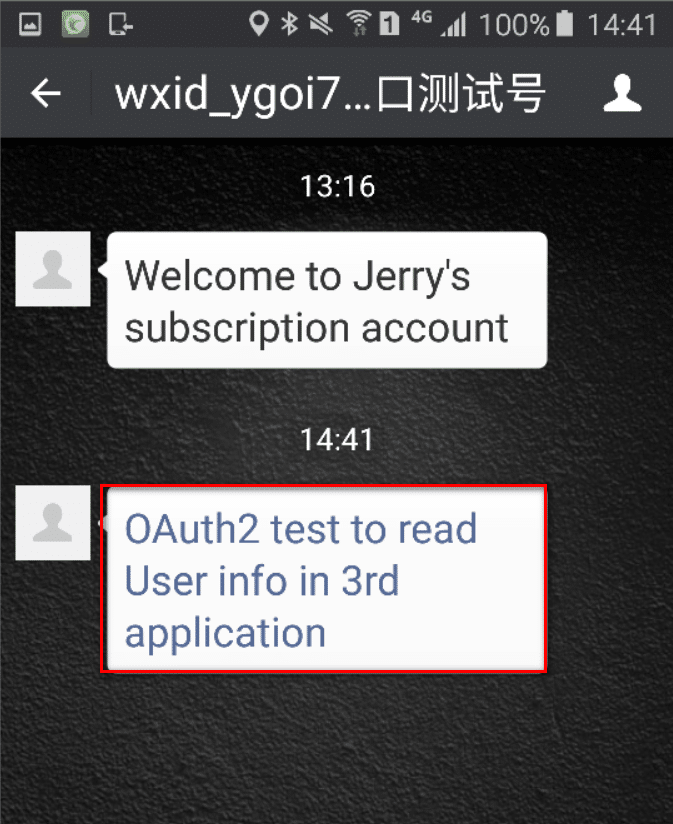
app.route('/').post(function(req,res){ var _da; req.on("data",function(data){ _da = data.toString("utf-8"); }); req.on("end",function(){ var msgType = formattedValue(getXMLNodeValue('MsgType',_da)); if( msgType === "text"){ // handle text message, detail source code see previous blog } else if( msgType === "voice"){ // handle voice message, detail source code see previous blog } else if( msgType === "event"){ var event = formattedValue(getXMLNodeValue('Event',_da)); if( event === "subscribe"){ // handle subscribe event, detail source code see previous blog } else if( event === "CLICK"){ /* < < > > " : & & */ var redirect = "https://open.weixin.qq.com/connect/oauth2/authorize?appid=wx73b49bfe02fd3a17&redirect_uri=https://wechatjerry.herokuapp.com/tokenCallback&response_type=code&scope=snsapi_userinfo&state=1#wechat_redirect"; var reply = "<a href="" + encodeURI(redirect) + "">" + "OAuth2 test to read User info in 3rd application" + "<" + "/a" + ">"; var eventtext = replyMessage(_da, reply); res.send(eventtext); }; } }); });Implementation for task two
app.route("/tokenCallback").get(function(req,res){ if( req.query && req.query.code) { authorizeAndRedirect(req.query.code, res); } else{ res.send("no code"); } }); The function authorizeAndRedirect is implemented in nodejs module with below source code: var config = require("../../config.js"); var request = require('request'); function getAccessToken(code) { var url = "https://api.weixin.qq.com/sns/oauth2/access_token?appid=" + config.testAccountAppid + "&secret=" + config.testAccountSecret + "&code=" + code + "&grant_type=authorization_code"; var getTokenOptions = { url: url, method: "GET", json:true, headers: { "content-type": "application/json" } }; return new Promise(function(resolve,reject){ var requestC = request.defaults({jar: true}); requestC(getTokenOptions,function(error,response,body){ if(error){ reject({message: error}); return; } resolve(body); }); // end of requestC }); } function getUserinfo(tokenResponse, res){ var userinfourl = "https://api.weixin.qq.com/sns/userinfo?access_token=" + tokenResponse.access_token + "&openid=" + tokenResponse.openid; var userOptions = { url: userinfourl, method: "GET", json:true, headers: { "content-type": "application/json" } }; return new Promise(function(resolve,reject){ var requestC = request.defaults({jar: true}); requestC(userOptions,function(error,response,body){ if(error){ reject({message: error}); return; } var url = "https://wechatjerry.herokuapp.com/ui5?nickname=" + body.nickname; res.redirect(url); }); // end of requestC }); } module.exports = function(code, res){ getAccessToken(code).then(function(tokenResponse) { getUserinfo(tokenResponse, res); }); };